
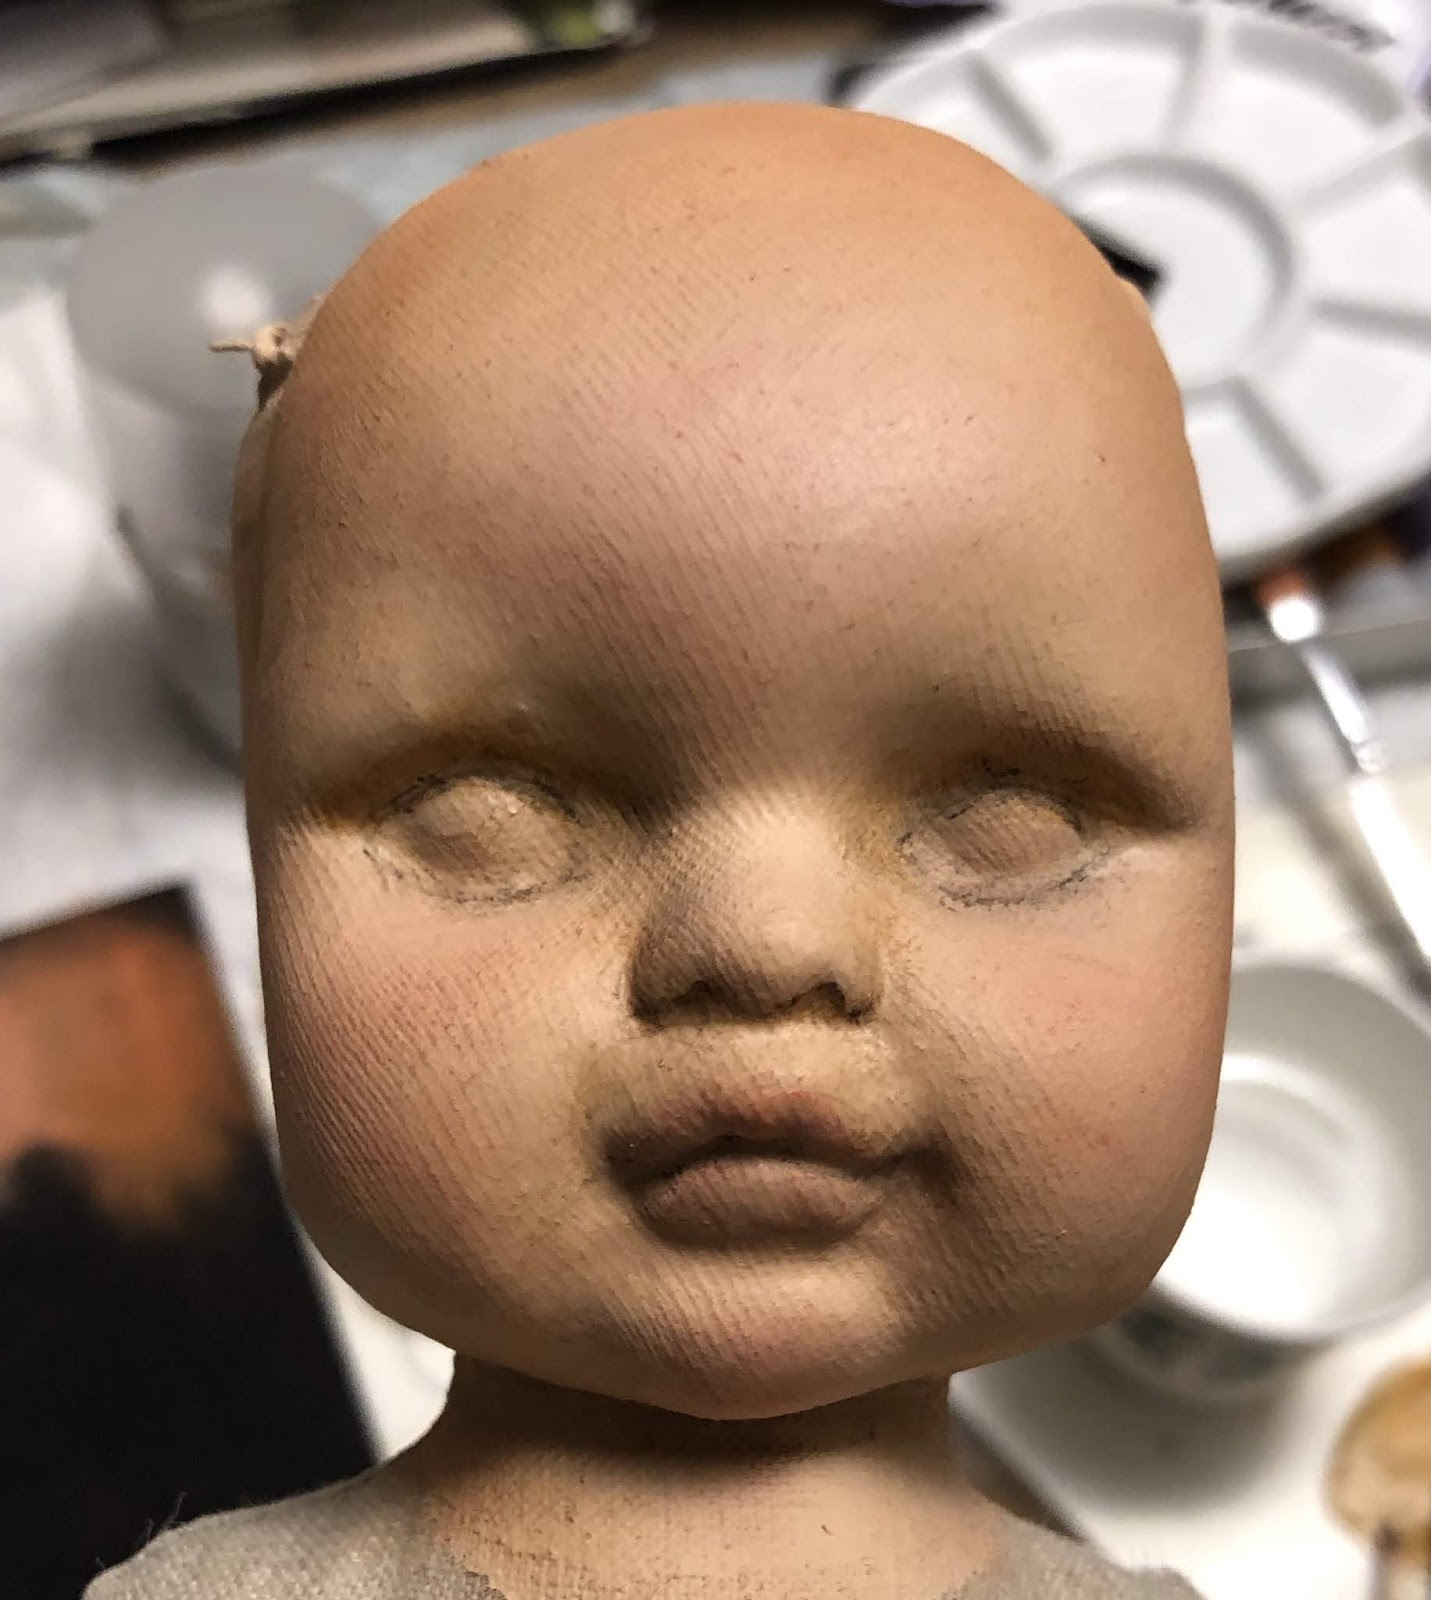
This first photo shows the sculpted face with its organic cotton jersey skin stretched over the mask:

Next I apply multiple coats of a tinted acrylic medium that contains fine marble dust to create the texture I desire while still allowing the ‘skin’ to retain some flexibility.

I build up multiple layers gradually allowing for complete drying between layers. After these base layers are completely dry I rub the powdered Faber-Castell polychromos pigments into the doll’s face. This is my preferred medium rather than painting on her skin tone. I believe it gives her a translucent complexion and creates vitality.

As I work, I occasionally lightly spray the face with a matte sealant to preserve the work thus far. This allows me to remove future layers if I am unpleased with any step in the process. I use a 000 sized brush and Faber-Castell Albrecht Durer watercolor pencils to create the facial details.
Here she is, one last step for final sharpening and defining of her facial features, nearly complete.


Thank you so much for showing us the step by step process. I’m finding it absolutely fascinating!! I believe I’m your biggest fan and I’m proud of it!!!
ReplyDeleteThank you! You know I love making them!
DeleteAwe! I should’ve read this blog. Which answers the question I posted earlier. Thanks for taking the time to share this process. It’s so interesting! ��
ReplyDeleteThanks, Elsie!
Delete